
Magisk Zygisk Hook Project User Guide
1. Project Overview
This project is used to verify that Magisk works properly on cloud phones. It consists of two parts:
- hook-target-app: the target app, containing both Java and native (C++) code, providing the methods to be hooked
- zygisk-module-sample: the Zygisk module, injected into the target app process to intercept and replace native method return values
Sample project download: magisk-zygisk-hook-sample.zip
2. Project Structure
Magisk/
├── hook-target-app/              # Target app (Android Studio project)
│   ├── app/src/main/java/        # Java code
│   │   └── com/example/hooktarget/
│   │       ├── MainActivity.java       # Main UI, calls methods and displays results
│   │       └── SecurityManager.java    # Security manager class with native methods
│   └── app/src/main/jni/
│       └── native-lib.cpp        # C++ code implementing the native methods
│
└── zygisk-module-sample/         # Zygisk Hook module (ndk-build project)
    ├── src/
    │   ├── main.cpp              # Module entry, Zygisk lifecycle handling
    │   └── hook/
    │       ├── java_hook.cpp     # Java-layer hook implementation
    │       └── native_hook.cpp   # Native-layer hook implementation
    └── module/                   # Magisk module files (module.prop, etc.)
3. Hook Target Methods
| Class | Method | Original Return Value | Return Value After Hook |
|---|---|---|---|
MainActivity | nativeEncrypt(String) | ENC[input] | [HOOKED] encrypt intercepted |
MainActivity | nativeCheckLicense(String) | false | true |
SecurityManager | isPremium() | false | true |
SecurityManager | getDeviceToken(String) | TOKEN_userID_timestamp | HOOKED_TOKEN_intercepted |
4. Build and Package
4.1 Build the Target App
- Open the
hook-target-app/directory in Android Studio - Wait for Gradle sync to complete
- Menu Build → Build Bundle(s) / APK(s) → Build APK(s)
- APK output path:
hook-target-app/app/build/outputs/apk/debug/app-debug.apk
4.2 Build the Zygisk Module
Run in the extracted project root directory (Android NDK must be installed, with the directory containing ndk-build added to PATH):
cd Magisk/zygisk-module-sample
ndk-build
Build artifacts are in the libs/ directory (libhook_module.so stored per ABI).
4.3 Package the Magisk Module ZIP
The module ZIP must contain the following structure:
hook_module.zip
├── module.prop              # Module description file
├── install.sh               # Install script
├── uninstall.sh             # Uninstall script
├── zygisk/
│   ├── arm64-v8a.so         # Copied from libs/arm64-v8a/libhook_module.so
│   ├── armeabi-v7a.so       # Copied from libs/armeabi-v7a/libhook_module.so
│   ├── x86.so               # Copied from libs/x86/libhook_module.so
│   └── x86_64.so            # Copied from libs/x86_64/libhook_module.so
Note: .sh files inside the ZIP must have Unix permission 0755, other files 0644; otherwise Magisk silently fails to load the module.
5. Installation and Usage
5.1 Install the Target App
adb install -r hook-target-app/app/build/outputs/apk/debug/app-debug.apkAfter installation, find the "HookTarget" icon on the home screen and open it to see the method call results.
5.2 Install the Zygisk Module
Push the module ZIP to the device:
bashadb push hook_module_v5.zip //sdcard/Download/Note: In Git Bash,
/sdcardmust be written as//sdcard(double slash)Open the Magisk Manager app
Go to the Modules page, which shows "No module installed":
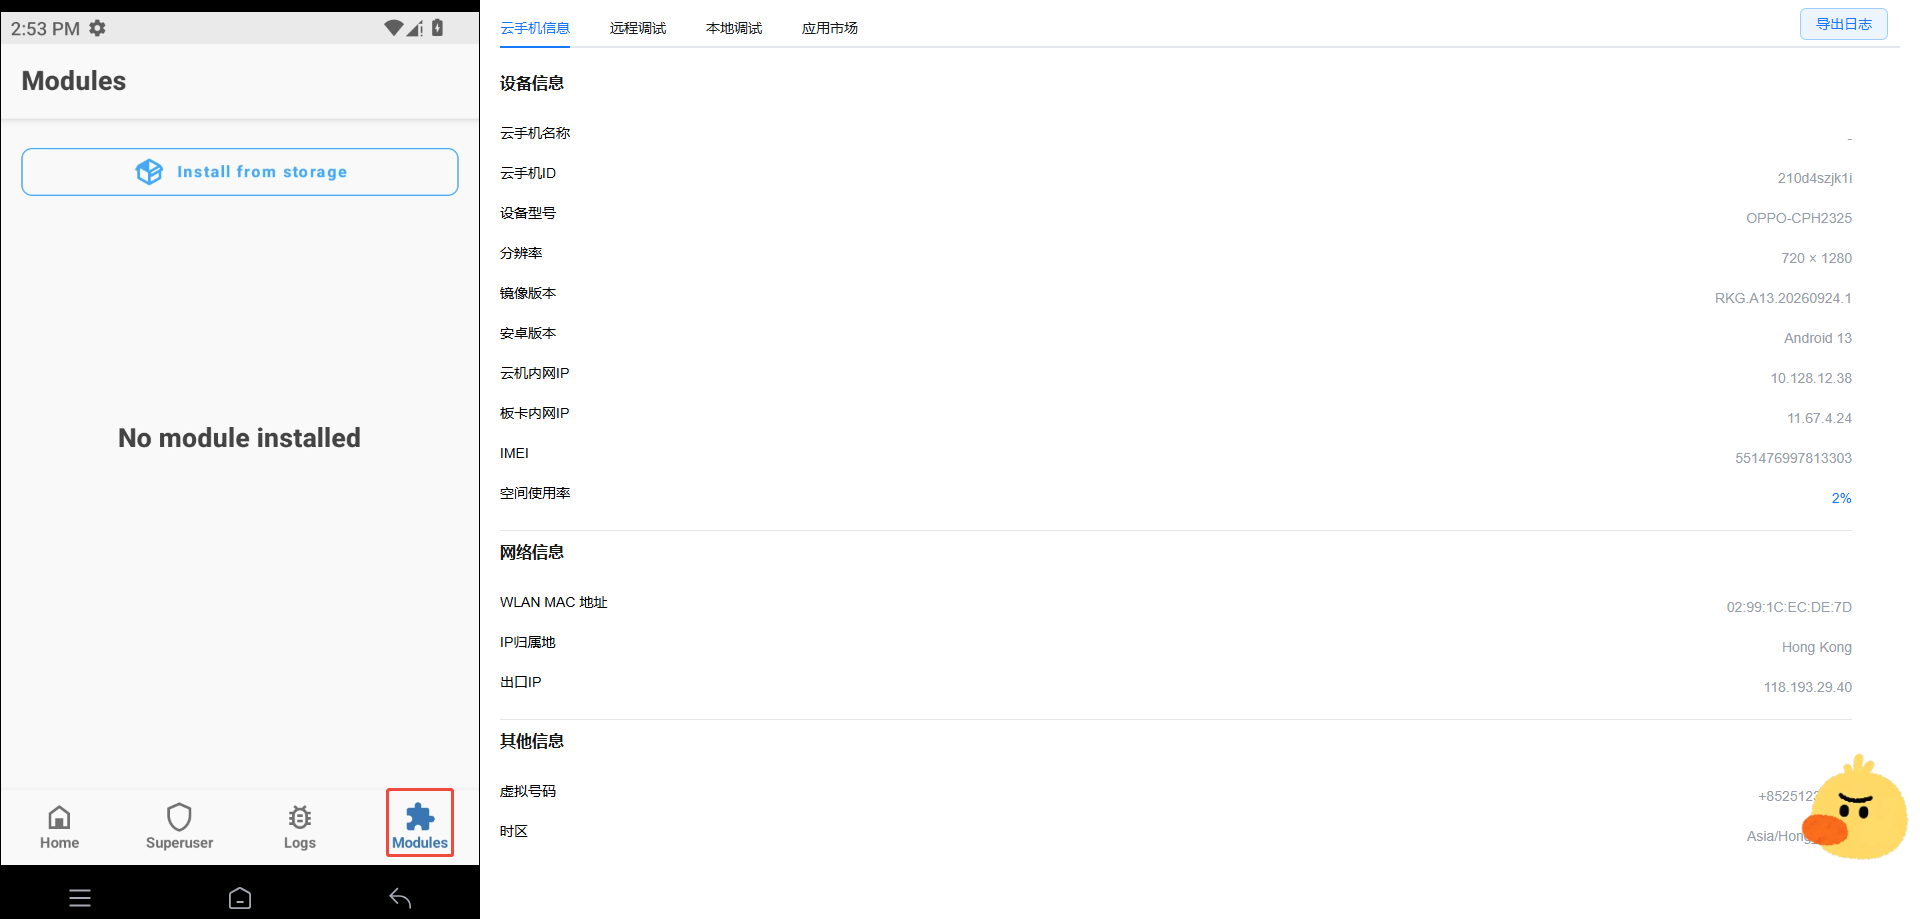
Tap Install from storage:
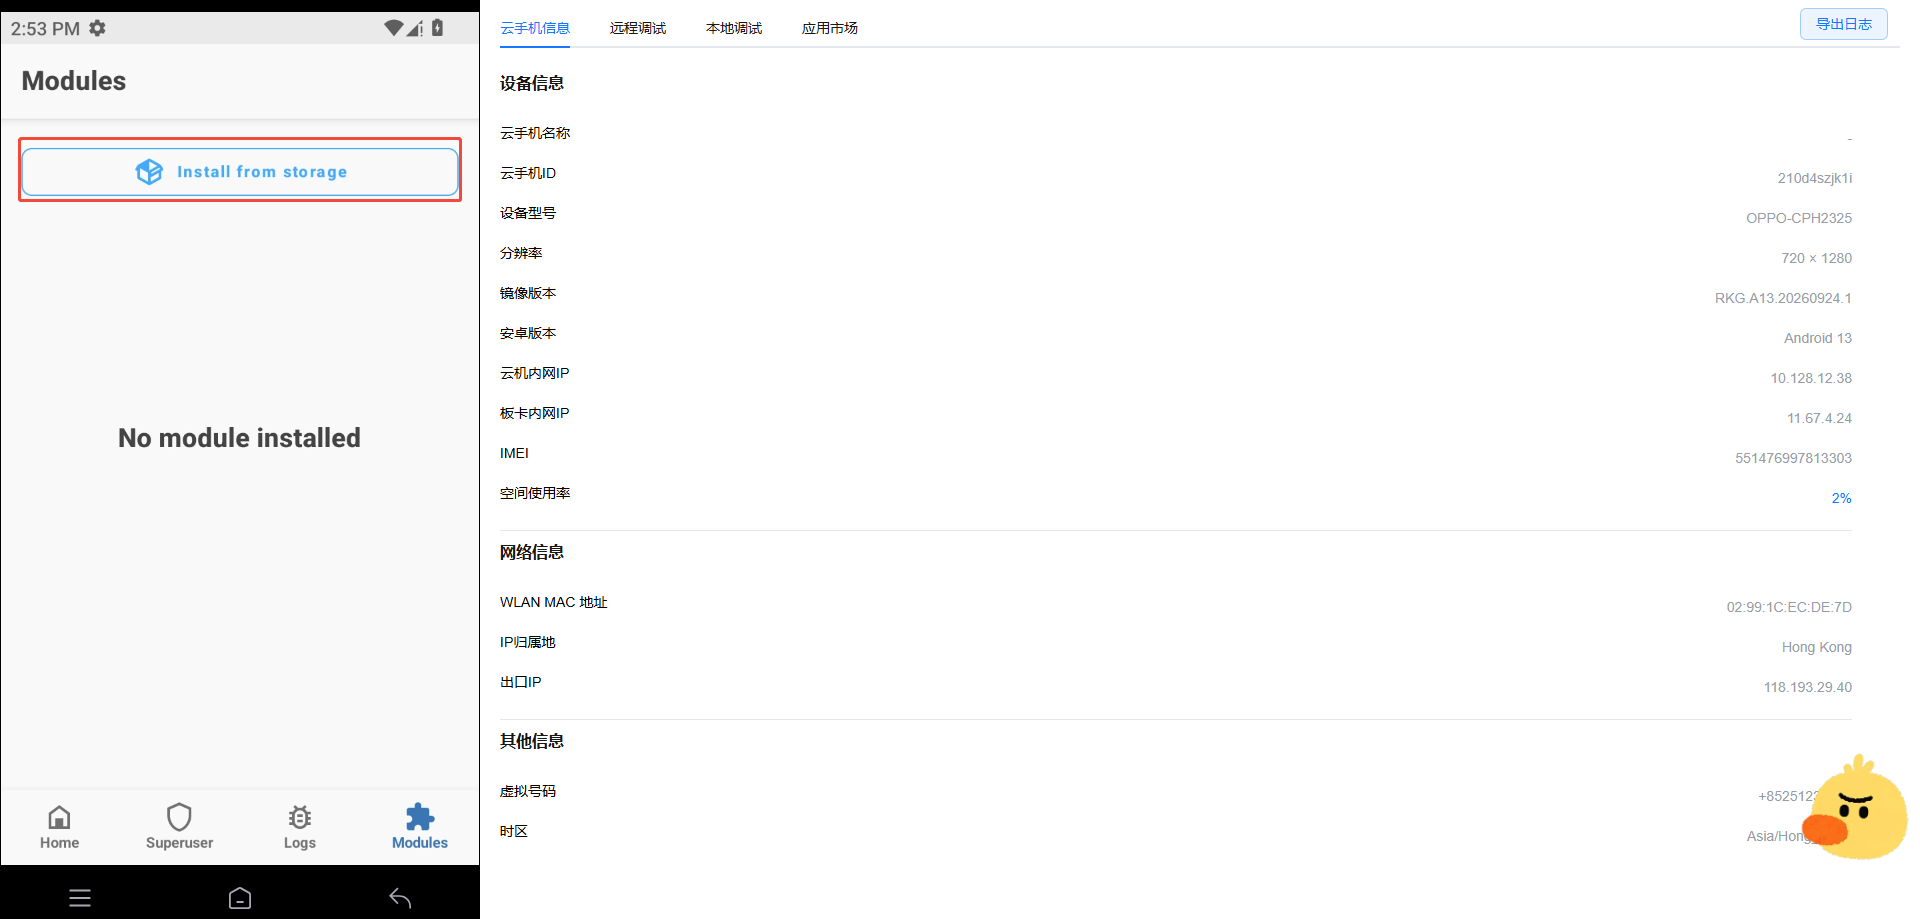
Select
hook_module_v5.zipReboot the device after installation
5.3 Uninstall the Module
In Magisk Manager → Modules, find the module, tap Uninstall, and reboot the device.
6. Verification Methods
6.1 Method 1: Logcat Logs (Recommended)
This is the most direct verification method. The module's hook functions have built-in logging, so you can verify by filtering logcat keywords.
Steps:
# Clear old logs and start live monitoring
adb logcat -c && adb logcat | findstr /I "NativeHook JavaHook HookTargetNative"
Then open hook-target-app and watch the log output.
Signs of a successful hook:
The hook is working if the following appears in the logs:
I/JavaHook: [Java Hook][RegisterNatives] SecurityManager.isPremium()
I/JavaHook: [Java Hook] Returning: true (original: false)
I/JavaHook: [Java Hook][RegisterNatives] SecurityManager.getDeviceToken("user_1")
I/JavaHook: [Java Hook] Returning: HOOKED_TOKEN_intercepted
I/JavaHook: [Java Hook][RegisterNatives] nativeEncrypt("hello_world_1")
I/JavaHook: [Java Hook] Returning modified value: [HOOKED] encrypt intercepted
I/JavaHook: [Java Hook][RegisterNatives] nativeCheckLicense("ABCDEF-1")
I/JavaHook: [Java Hook] Returning: true (original: false)
Signs of a failed hook:
If you see logs starting with [Original] (from the app's own native-lib), the calls are going through the original methods:
I/HookTargetNative: [Original] SecurityManager.isPremium()
I/HookTargetNative: [Original] nativeEncrypt("hello_world_1")
6.2 Method 2: Observe the App UI
The hook-target-app UI displays the return values of each method in real time.
When the hook succeeds, the UI should show:
| Item | Displayed Content |
|---|---|
| isPremium | true |
| getDeviceToken | HOOKED_TOKEN_intercepted |
| nativeEncrypt | [HOOKED] encrypt intercepted |
| nativeCheckLicense | true |
When the hook fails, the UI will show:
| Item | Displayed Content |
|---|---|
| isPremium | false |
| getDeviceToken | TOKEN_user_N_1234567890 (with timestamp) |
| nativeEncrypt | ENC[hello_world_N] |
| nativeCheckLicense | false |
6.3 Method 3: Comparison (Most Reliable)
Collect logs with and without the module installed, then compare the differences.
# Step 1: without the module, collect the original behavior
adb logcat -c && adb logcat | findstr /I "HookTargetNative" > original.log

# Step 2: install the module and reboot, collect the hooked behavior
adb logcat -c && adb logcat | findstr /I "JavaHook NativeHook" > hooked.log
Compare the two log files:
original.logshould contain logs starting with[Original]hooked.logshould contain logs starting with[Java Hook]or[Native Hook]- The two should not appear at the same time
7. Technical Principles
7.1 Zygisk Injection Flow
Magisk starts → loads Zygisk → injects into the Zygote process
    ↓
Zygote forks the app process
    ↓
Module onLoad() is called
    ↓
preAppSpecialize() — checks whether it is the target package name
    ↓
postAppSpecialize() — starts a background thread to install hooks
    ↓
Background thread: AttachCurrentThread → get ClassLoader → install hooks
7.2 Hook Technique: RegisterNatives
This module uses the JNI RegisterNatives mechanism to replace native methods:
- Load the target class via
ClassLoader.loadClass() - Call
UnregisterNatives()to revoke the original native method registration - Call
RegisterNatives()to re-register, pointing to our own functions
Key constraints:
UnregisterNativescan only revoke methods registered manually viaRegisterNatives- Methods auto-registered by the JNI naming convention (
Java_xxx_yyy) cannot be revoked byUnregisterNatives - Therefore, the target app's
SecurityManageruses manualregisterNatives()registration
7.3 Why a Background Thread Is Needed
When postAppSpecialize() runs, the app's ClassLoader is not ready yet. A background thread must be started to poll until ActivityThread is initialized, after which the ClassLoader can be obtained to load the target class.
8. FAQ
Q1: The app shows no change after installing the module and rebooting
- Check whether the module is enabled in Magisk Manager
- Check whether Zygisk is enabled (Magisk Manager → Settings → Zygisk)
- Check whether logcat contains the
HookSample: Module loaded in Zygotelog
Q2: Hooking MainActivity succeeds but SecurityManager fails
- Confirm that the app version contains the manual
SecurityManager.registerNatives()registration logic - Check the
UnregisterNativesreturn value in logcat —-2means the method is auto-registered and cannot be revoked
Q3: No hook-related logs in logcat
- Confirm that
adb logcat -cexecuted successfully (old logs cleared) - Confirm that the app package name is
com.example.hooktarget - Check whether the
findstrfilter condition is correct (Windows has nogrepcommand)
Q4: adb push reports a path not found error in Git Bash
- In Git Bash,
/sdcardis interpreted as a local path - Use a double slash:
adb push file.zip //sdcard/Download/
9. DeviceSpoofLab Module Verification
9.1 Module Introduction
DeviceSpoofLab is a Magisk device-spoofing module used to fake device information (model, brand, device name, Android version, etc.). It is commonly used for:
- Privacy protection (hiding real device information)
- App compatibility testing (simulating different devices)
- Bypassing device binding restrictions
GitHub repository: https://github.com/yubunus/DeviceSpoofLab-Magisk
9.2 Installation Steps
Download the DeviceSpoofLab module ZIP file
Push it to the device:
bashadb push DeviceSpoofLab-Magisk.zip //sdcard/Download/Open Magisk Manager → go to the Modules page, which shows "No module installed":
Tap Install from storage:
Select
DeviceSpoofLab-Magisk.zipReboot the device after installation
9.3 Configure Device-Spoofing Parameters
DeviceSpoofLab typically sets the faked device information through a config file or a built-in UI. Common configuration items:
| Configuration Item | Description | Example |
|---|---|---|
ro.product.brand | Brand | Samsung |
ro.product.model | Model | SM-G9980 |
ro.product.name | Device name | p3s |
ro.build.display.id | System version | TP1A.220624.014 |
ro.build.version.release | Android version | 13 |
ro.build.version.security_patch | Security patch date | 2023-08-01 |
Configuration methods (may vary by module version):
- Method 1: edit the
config.propfile in the module directory - Method 2: use the module settings UI in Magisk Manager
- Method 3: use the companion LSPosed module (DeviceSpoofLab-Hooks) for finer-grained control
9.4 Verify Spoofing with DevCheck
DevCheck is a professional device information app that reads system properties, hardware information, sensor data, and more — an ideal tool for verifying spoofing results.
DevCheck download: https://play.google.com/store/apps/details?id=flar2.devcheck
Verification Steps:
Install DevCheck
bashadb install devcheck.apkOpen DevCheck and check the following key information:
① Device page
- Brand: should display the faked brand (e.g.,
Samsung) - Model: should display the faked model (e.g.,
SM-G9980) - Product: should display the faked product name
- Device: should display the faked device codename
② System page
- Android Version: should display the faked version (e.g.,
13) - Security Patch: should display the faked patch date
- Build ID: should display the faked build ID
③ Hardware page
- CPU ABI: should remain unchanged (spoofing usually does not modify the CPU architecture)
- Hardware (platform): may display a faked value
- Brand: should display the faked brand (e.g.,
Comparison verification
Verification Item Before Spoofing (Real) After Spoofing (Faked) Criteria Brand OPPOSamsungMismatch means spoofing works Model CPH2325SM-G9980Mismatch means spoofing works Android Version 1313(may be the same)Judge with other fields Security Patch 2026-09-242023-08-01Mismatch means spoofing works
Command-Line Verification (Optional)
You can also quickly check system properties via adb commands:
# View brand
adb shell getprop ro.product.brand

# View model
adb shell getprop ro.product.model

# View Android version
adb shell getprop ro.build.version.release

# View security patch date
adb shell getprop ro.build.version.security_patch
Note: Some apps may read hardware information directly through the JNI layer, bypassing system properties. DeviceSpoofLab-Hooks (an LSPosed module) can hook these underlying calls for more thorough spoofing.
9.5 FAQ
Q1: DevCheck shows unchanged values
- Confirm that the DeviceSpoofLab module is enabled and the device has been rebooted
- Check whether the configuration file is correct
- Some system properties may be overridden by multiple sources and require several reboots
Q2: Some apps still detect the real device
- These apps may use deeper detection (such as reading the
/sys/file system) - Use them together with the LSPosed module (DeviceSpoofLab-Hooks) for Java-layer hooks
- Or use a more powerful spoofing solution (such as XPrivacyLua)
Q3: Some apps crash after spoofing
- Some apps verify device consistency (e.g., brand and model mismatch)
- Make sure the configured brand, model, and device codename form a combination that exists in reality
- Refer to real device build.prop configurations